
iPhoneアプリ開発していきます。
今回作るアプリは、「地図タイプの選択ができる地図アプリ」です。
地図検索アプリの完成図
動画
[iPhoneアプリ開発]地図タイプ選択
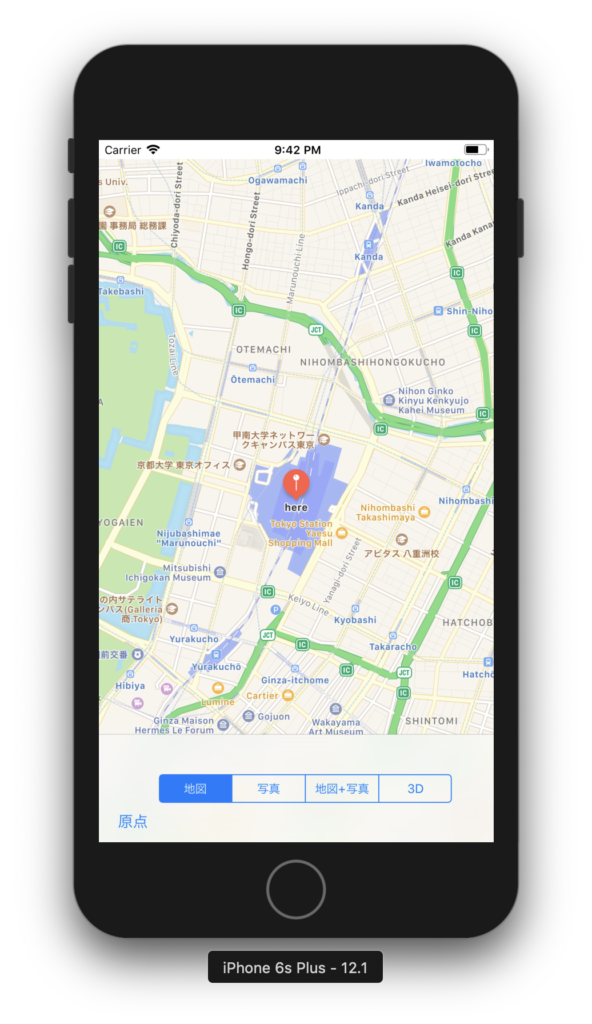
地図タイプの選択肢
.standard 標準の地図
.satellite 航空写真

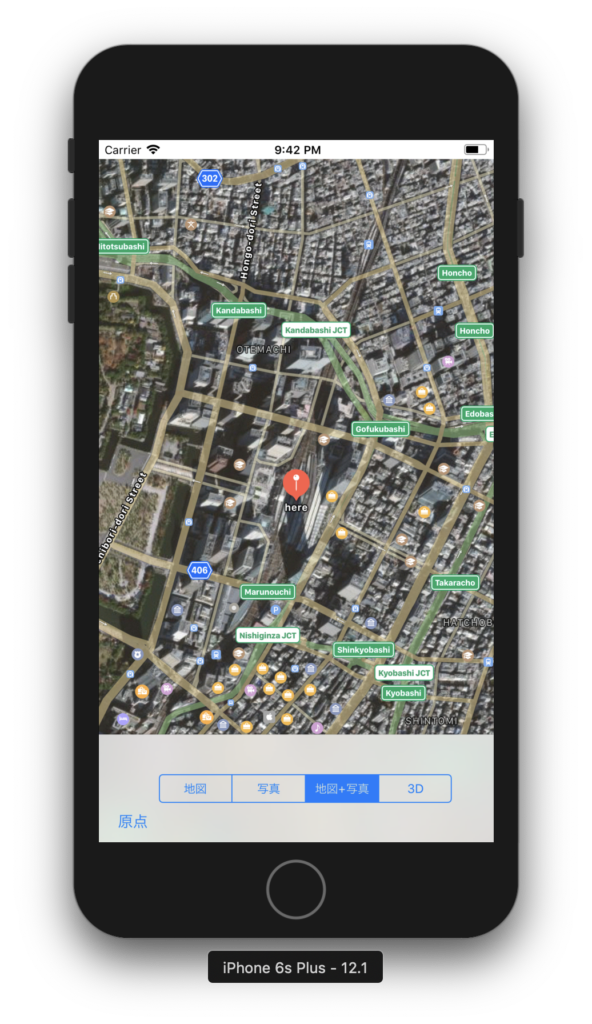
.hybrid 航空写真+地名
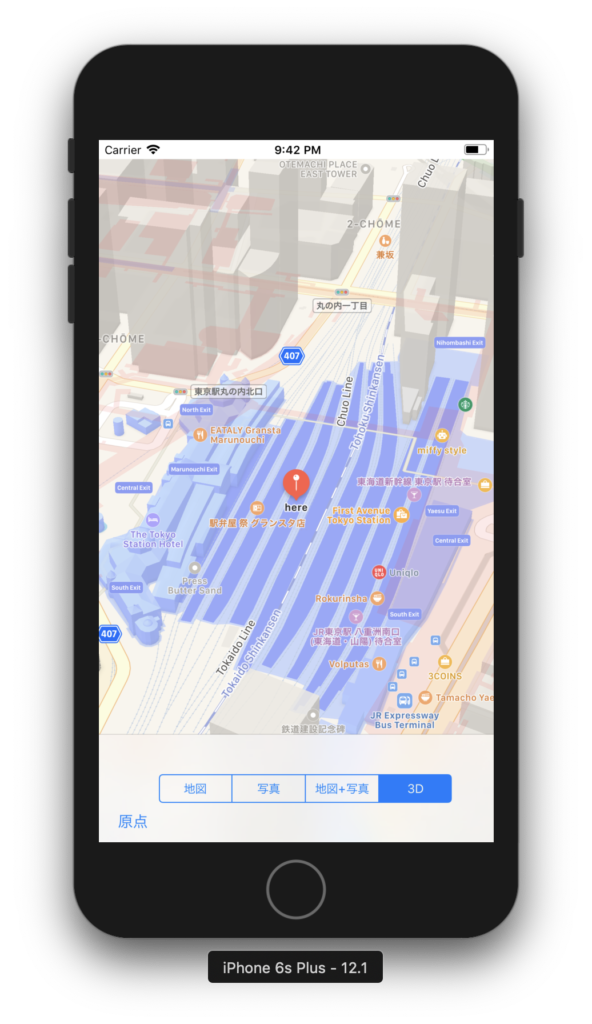
3D
//3Dビュー
myMap.camera.pitch = 70  //俯角
myMap.camera.altitude = 700  //標高
上のように、設定すると3Dのように視点が変わる。
ソースコード全体
import UIKit
import MapKit


class ViewController: UIViewController {

  override func viewDidLoad() {
    super.viewDidLoad()
    // Do any additional setup after loading the view, typically from a nib.

    //地図の左上にスケールを表示させる。
    myMap.showsScale = true
  }

//MapViewとリンク
  @IBOutlet weak var myMap: MKMapView!

  @IBOutlet weak var toolBar: UIToolbar!


  @IBAction func gotoSpot(_ sender: Any) {
    /*
     ToolBarの横浜を押すと、横浜が表示されるようにする。
     表示する中心座標centerをCLLocationCoordinate2Dで指定
     表示する範囲をMKCoordinateSpanで指定
     緯度・経度の1度は約111kmなので、0.02を指定すると2.22km四方の範囲になる。
     MKCoordinateRegionで、地図の領域を作る。
     setRegionで、指定された範囲が地図で表示される。
     */
    let ido = 35.681236
    let keido =  139.767125

    let center = CLLocationCoordinate2D(latitude: ido, longitude: keido)

    let span = MKCoordinateSpan(latitudeDelta: 0.02, longitudeDelta: 0.02)

    let theRegion = MKCoordinateRegion(center: center, span: span)

    myMap.setRegion(theRegion, animated: true)

    let pin = MKPointAnnotation()

    pin.coordinate = center

    pin.title = "here"

    myMap.addAnnotation(pin)
  }


  @IBAction func changeMapType(_ sender: UISegmentedControl) {
    switch sender.selectedSegmentIndex {
    case 0:
      print(sender.selectedSegmentIndex)
      myMap.mapType = .standard
    case 1:
      print(sender.selectedSegmentIndex)
      myMap.mapType = .satellite

    case 2:
      print(sender.selectedSegmentIndex)
      myMap.mapType = .hybrid

    case 3:
      print(sender.selectedSegmentIndex)
      myMap.mapType = .standard
      //3Dビュー
      myMap.camera.pitch = 70  //俯角
      myMap.camera.altitude = 700  //標高

    default:
      print(sender.selectedSegmentIndex)
      break
    }
  }
}
おすすめ教材
- 【6日で速習】iOS 11 Swift 4アプリ開発入門決定版 20個のアプリを作る(ARKit,CoreML,NFC)

- 【iOS12対応】未経験者が有名アプリ開発者になるiOS 12の全て 20個以上アプリをつくりプロになる

- iOS 11 & Swift 4 – The Complete iOS App Development Bootcamp
iPhoneアプリ作成&Swift本
0